Monday, May 28, 2018

Papertrey Ink's Make It Monday #332- Above and Below


So, I am sneaking this card in last minute (as I so often do) for Papertrey Ink's Make It Monday #322, which is hosted by Lizzie Jones. Her technique is called "Above and Below" and just as the name indicates, it's to frame a sentiment strip with images both above and below! So whenever I am working on a card and start die cutting various images, I tend to make extras and then store them for future projects. It just makes sense as it's much easier and far more efficient when I already have all my supplies out and then I can store them for future projects.  Well this is that future project! Hehe. 😉


I took out a bunch of florals that I had pre-die cut and stamped and then simply started arranging them until I was satisfied! Here is the result:

So I began by die-cutting a white, top folding card base with PTI's newest Noted set. I am absolutely in ❤ with the stitched and pinked edges! Then I got to work on the floral arrangement and color scheme. If you browse through either my blog and/or Instagram account (@O2CraftMama) you'll soon figure out that I'm very partial to bright, vibrant colors and this card is no exception! 
As you can see, I used many different floral sets and from a few different companies! From Papertrey Ink I used:
-Dawn Mcvey's gorgeous florals: Farmer's Florals, Gran's Garden
-Betsy Veldman's Spring Border Flowers and Stitched Garden set. 
-Graceful Greetings II
-Nesting: Leaves from the coverplate and the sentiment from the stamp set. 
I I also used Altenew's floral set, it's the aqua flower in the above photograph. 
I also incorporated some smaller flowers and leaves from WPlus9:
-Freehand Florals & Southern Summer Florals 1
-The stitched banner is from My Favorite Things  (MFT Stamps).


To add more depth and interest, I also used a white gel pen and a black Pigma Micron to add some stitching and details to some of the floral centers:


As a finishing touch, I generously lathered all the florals with a coating of Zig Wink of Stella clear glitter brush pen. Unfortunately you can't really see it in the photographs but I assure you that in real life it is absolutely divine! I never get tired of using this product, it just makes everything "pop"! 

I  also scattered a few Pretty Pink Posh Sparkling Clear Sequin Mix to finish off the card.

Finally, I also embellished a matching envelope with a super old Stampin' Up stamp (pink heart) and Papertrey Ink's mini envelope kit.:

So I might have gone a _bit_ (okay fine...A LOT) over board with the amount of flowers I used. 😁Haha, but I simply couldn't resist-- I feel that you can never own too many floral stamp/die sets! 

Thanks for stopping by and until next time...craft on! 
-O

Tuesday, May 8, 2018

Sneaking this one in...

My last minute entry for Papertrey Ink 's Transformation Tuesday hosted by Keeway!
These were created with minimal supplies as I had just returned from a lengthy trip and most of my "crafty stuff" ⬅ (technical term) had yet to be unpacked.  I created the 1st one a couple weeks ago and just couldn't quite put my finger on what it was that I felt was missing.  So I decided to transform it, prompted by this challenge. But I set a perimeter, namely that I would  challenge myself to essentially re-create the initial experience and only permit myself to use bare minimum supplies again. My thought was that it would be nice to have some go-to designs/sketches and colors to easily reproduce, even on a trip!


Here is the original: They are very similar but there were changes...let's see if you can spot them, much like Where In the World is Waldo style.  Haha, but I digress...


Here is a close up of the original card:


And here is the slightly transformed card! 


And the full card. Unfortunately the photo stinks because the at the exact time I was preparing to take pictures...the weather decided to change and the sun played hookie, leaving storm clouds in its wake. Perhaps I will post more pictures once I have better lighting!
And until next time...craft on!
Xoxo, 
Oreet

Wednesday, March 21, 2018

Masculine Version

As promised in my previous post, here is the masculine version:
Not too many changes from the feminine version-- I simply chose a bit more of what I thought was a more masculine interpretation of the rainbow, as in red rather than pink, navy blue rather than turquoise, etc,. 


I then switched out the "focal sentiment" with a die-cut birthday that I thought was a but more "blocky" and therefore more masculine, in my opinion! 

Until next time...Craft on! :)
-O

I am entering this card into the following challenges:

I'm baaaaccckkk!

Yes, as my above subject proclaims...I'm finally back! As I mentioned in a previous post, I'm chronically ill and something as seemingly inconsequential as a cold, will make me sick for 2 months. So, though I have been making cards from time to time, I simply have not had the energy to update my blog. It's much easier to simply post on Instagram, though I'm vowing to be more present here on my blog from now on. Though if you want to catch me on IG, my handle is: O2CraftMama. All right, now down to business :)

I've decided to challenge myself-- It seems like I'm always low on masculine cards but yet have tons of feminine ones. So, I've decided that every time I make a feminine card, I will also make a masculine version. I think it's absolutely doable, especially since I already have the materials out and with only a few alterations, (be it color or images, i.e. flowers converted to stars)  I can quickly make a male version. And that's precisely what I did with the card in this post and the next:

First up, the feminine version:
I cut the cover plate out in  both white and black cardstock. Then using my Tim Holtz blending tool, I blended a feminine version of the rainbow-- using pink in place of red, turquoise rather than blue, etc. I cut and scored a top-folding A2-sized card and glue the black coverplate to it. Afterward, using my chosen pattern I inlaid and adhered the pieces into it. 

I cut two small strips of black cardstock and then stamped/heat embossed them with  "supporting sentiments" using sparkling, superfine gold embossing powder. Then using Lawn Fawn's amazing Big Scripty Words set, I diecut and stamped the "focal sentiment"

I finished the card off with various sized Sparkling Clear sequins from Pretty Pink Posh,,,,aaaannnddd I'm done! 

Catch you in my next blog post, but until then-- craft on!
-Oreet

**I'm entering this card into the following challenges:


Sunday, February 12, 2017

Hello, Friend-- Color Throwdown #429 and MIM #275

Well hello,

I thought I'd pop in to not only share this card that I'm entering into the challenges but also to let you know I'm still alive and (somewhat) kicking! I actually am chronically ill-- I have over 12 diagnoses and 65 different medications I need to take daily. One of my diagnoses is a rare immune-deficiency disease, which means that even a cold can land me in the hospital or at the very least takes me 6- weeks to recover. Soooo, all that to explain my disappearance since August!

Now, on to the fun stuff! :)

My color combination was inspired by this week's bold Color Throwdown #429 challenge:


And my technique with the "dangles" from the sentiment is from the tutorial Amy did for this week's Make-it-Monday #275. So here is my interpretation:
**All supplies PTI unless otherwise noted.
 My sentiment comes from the Bitty Bouquet set. The lines/"dangles" and bows are from sets by PTI, Mama Elephant and Avery Elle. The "symbols" on the dangles are also from various stamp sets/companies-- Clipsters Mini Kit, Stacked, Avery Elle and Mama Elephant.
Once the front panel was completed, I matted it with Soft Stone Striped patterned paper, which I cut using MFT's Scalloped Rectangles. Then, I wrapped some black baker's twine around the panel 3 times and finished with a bow. Finally, I mounted the finished front panel onto a Hawaiian Shores card base, cut with the Noted: A2 die set.

And that's all! Hope you had a lovely weekend and I look forward to any and all comments!

-O

Monday, August 22, 2016

O-Fish-Ally Awesome- Lawnscaping Challenge #

Hello and happy Monday!

Just stopping in for another quick post for the awesome Lawnscaping Challenge, for challenge #136 in which we need to make a card with a "punny sentiment". How fun, right?

 So, using Lawn Fawn's adorable Dad + Me stamp/die set and my Copics, I created this card:
I created the card panel using my Lawn Fawn Large Stitched Rectangle in PTI's Stamper's Select cardstock. The Hawaiian Shores cardstock strip that was threaded through PTI's Scene It: Scalloped Tag Base Die. On that I layered the Scene It Backer and then die cut the Scene It Mountain View Dies, which I sponged with distress ink. Then I set up the scene with various stamps/dies from the Dad + Me set and then I die cut the cloud, which I sponged with Hawaiian Shores ink, from Lawn Fawn's Yay Kites set.

 I finished the card off with the punny sentiment stamped in Lawn Fawn's Black Licorice onto a stitched banner, added some matching enamel dots and...I'm done! :) I had such fun making this card and coloring these cute little critters, I hope you will enjoy it too!

Thanks for stopping by and as always your comments are super appreciated! Have a wonderful, craft-filled week!
-O

Wednesday, August 10, 2016

Loads of Fun Shaker Card

Hello and I hope you've had a wonderful beginning of your week, so far! I'm just stopping by with a quick post for this week's Lawnscaping Challenge, sponsored by Lawn Fawn:
 So here is my interpretation of "Pattern Palooza": 


 I had so much fun creating this girly card for one of my (many) nieces! Seriously, I have 9 nieces and 10 nephews, but I digress...Hehe. So, my card began with this beautiful, patterned paper from Lawn Fawn and from this I pulled the colors and fun style. I love this stamp set and had such fun stamping the various faces on the undergarments!

I added other details such as glossy accents on the washer's knobs and around the bottom portion of the heat embossed sentiment, I stamped in PTI's Hawaiian Shores the tiny hearts, which are included in the set to decorate the clothes and such
A mixture of Copics and Spectrum Noirs were used to color the images and they were finished off with a very liberal slithering of Clear Wink of Stella. And finally, sequins from Pretty Pink Posh's Spring mix were added for some subtle"bling"...though I believe that is actually an oxymoron, haha. 
Thanks for stopping by and be sure to stop by the Lawnscaping Challenge for more gorgeous and inspiring cards! 

Until next time...craft on! 
-O

Monday, August 1, 2016

Wednesday, July 27, 2016

Yay, Kites- "Quadruple-Shaker and Double-Slider" Card

The title sounds quite weird, right? Well, you shall now see what I mean by "quadruple shaker/double slider card... *drum roll*:  


Does it now make sense? Haha, I certainly hope so! So, when I initially set out to make this card, which is for a soon-to-be 10 year old girl, I was stumped and (sorely) lacking in inspiration/ideas/mojo etc,. But then I did my daily "rounds" of challenge blogs and I finally had my muse!!  For the color scheme, I actually drew inspiration from both the Sunday Stamps Challenge 
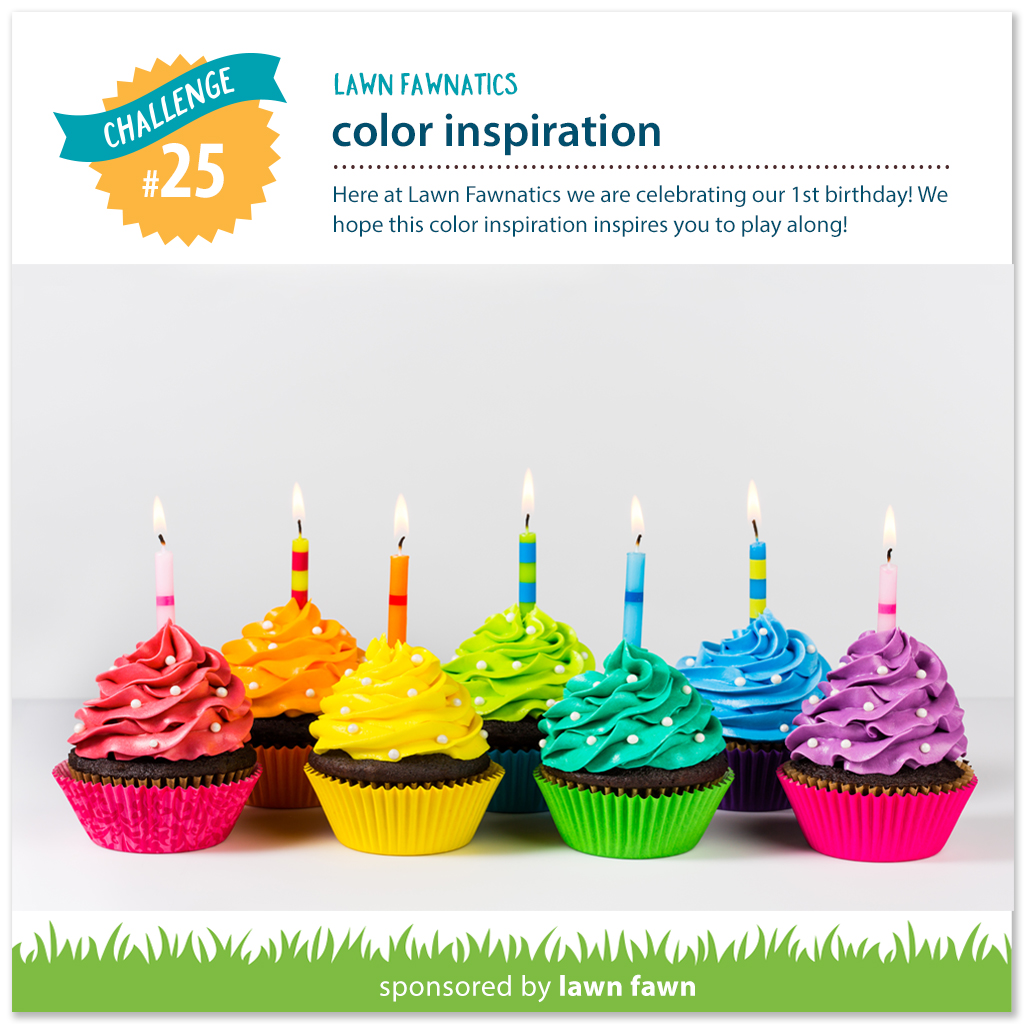
(where we must use a minimum of 3 colors from the challenge image above) and from Lawn Fawn's Lawnscaping Challenge  #134  in which we had to incorporate rainbow colors. That also happens to be the same theme for Virginia's View Challenge #22:

As I could not fit 7 kites within the space of the gorgeous Mama Elephant frame, I simply decided to cut 4 kite shapes and put two different colored sequins in each (except for the first). 

For a little twist and colors that I thought would be more appropriate for a girl, I decided to use somewhat non-traditional rainbow colors, using pink rather than red, for instance.


And finally, as I'm participating in Kathy Racoosin's awesome 30-Day Coloring Challenge, I opted to use little critters that I could color!